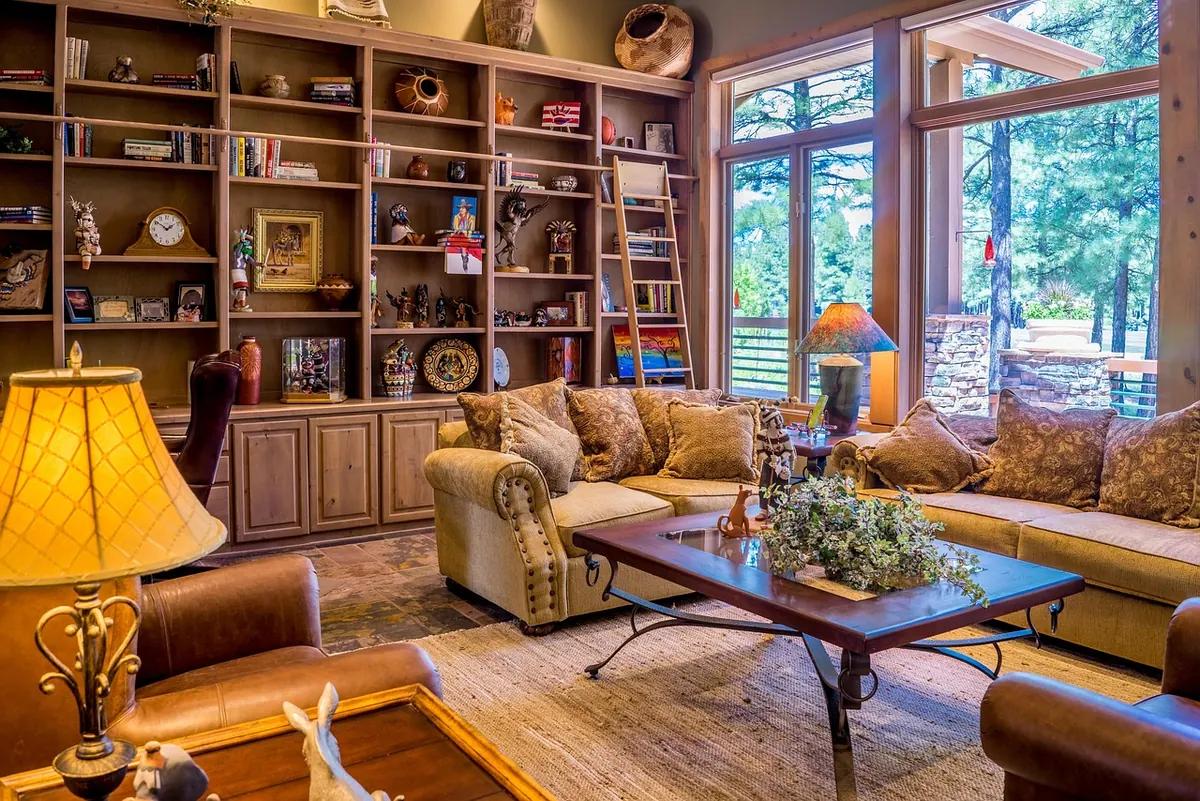
A bookshelf is doing two jobs at once. It holds your books, and it tells the story of the room. Done well, it looks as though it grew there over years of quiet collecting. Done badly, it looks like a storage unit with ideas above its station. The difference is rarely about how much you own. It is about how you group what you have, how much space you leave around it, and whether you are willing to take a few things away again.
Stand in front of the empty unit and ask what it is actually doing. A shelf in a hallway is seen in passing, so it can be bolder and less practical. An alcove either side of a chimney breast is usually a sightline from the sofa, which means the middle shelves matter most. A bedroom shelf often has to hold a lamp, a glass of water and the book you are halfway through.
Then settle on a rough ratio. A shelf that is eighty per cent books reads as a library; one that is thirty per cent books reads as a display. Both are good, but they need different treatment. Knowing which one you are building stops you from ending up with a confused half-and-half.
Take everything off — really everything — and dust the shelves properly. Working around existing clutter is how shelves stay wrong for years.
Now sort into three piles: keep on the shelf, store elsewhere, and pass on. Be honest about the paperbacks with broken spines you will never reread. Boxing them up is not a moral failing. The things that earn their place are the ones you would notice if they went missing: a bowl bought on a trip, a chipped jug from a charity shop, the mug your child made.
Styling goes much faster if you work from large to small rather than fussing over details first.
Books can stand upright, lie flat, or do both on the same shelf. A horizontal stack of three or four makes an excellent pedestal for a small bowl or a candlestick, and it breaks up a long row of spines. Try alternating: a run of upright books, then a stack with an object on top, then upright books again.
Group by subject or by height if you want a considered look. Grouping by colour is a legitimate choice, but be aware it can read as a shop display rather than a home. If you like it, soften it by leaving a few mismatched spines in place, and keep the arrangement loose rather than perfectly aligned.
Leave a finger's width of space at the end of each row. Books rammed tight to the shelf edge look heavier than they are, and you will never pull one out comfortably.
Threes and fives settle the eye better than pairs, which tend to look like bookends. More importantly, vary the shape and surface of what you group. A tall slim candlestick, a low wide bowl and a medium-sized ceramic vessel give each other something to react against. Matte next to gloss, smooth next to rough, dark next to pale.
Depth matters too. Push some objects towards the back of the shelf, some to the middle, one or two closer to the front. A flat row of objects all sitting at the same depth is the main reason a styled shelf still looks dull in photographs.
Empty space is what separates styling from storage. As a rule of thumb, try to keep about a third of every shelf clear. That might sound wasteful when you have a lot to house, but the objects that remain will look deliberate rather than crammed.
Keep the ends of shelves relatively free and avoid filling corners. If a shelf has three groupings, the gaps between them should be wider than you instinctively want them to be.
Once the individual shelves are right, look at the unit as one composition. Heavy at the bottom, lighter as you go up. Repeat a motif across the height — three small brass pieces on different shelves, for instance — to create a rhythm that ties it together.
Keep the eye-level shelf reasonably clear. A large object directly in the middle of your sightline blocks everything behind it. Symmetry works beautifully in traditional rooms, with matching pairs flanking a central feature; in more contemporary spaces, a deliberate imbalance feels more natural.
Finally, check the lighting. A shelf in shadow will always look muddled, and a small lamp or a picture light on the wall above can do more for an arrangement than any amount of rearranging.
Take a photograph of the finished shelf on your phone and look at it on the screen. Problems that are invisible in the room show up immediately in a flat image: the shelf that is too full, the gap that is too tight, the object that is the wrong height.
Fix what you can see, then stop. Live with the arrangement for a week before buying anything new — most shelves need editing, not shopping. Rotate a few pieces with the seasons, dust as you go, and let the shelf evolve. The best ones always look slightly unfinished, as though there is room for one more thing worth keeping.
Photo: bedrck / Pixabay
A practical spring checklist for UK homes: cleaner windows, lighter textiles, brighter accessories and fresh...
Learn how to combine linen, velvet, wool and cotton cushions by texture, scale and colour, and layer them...
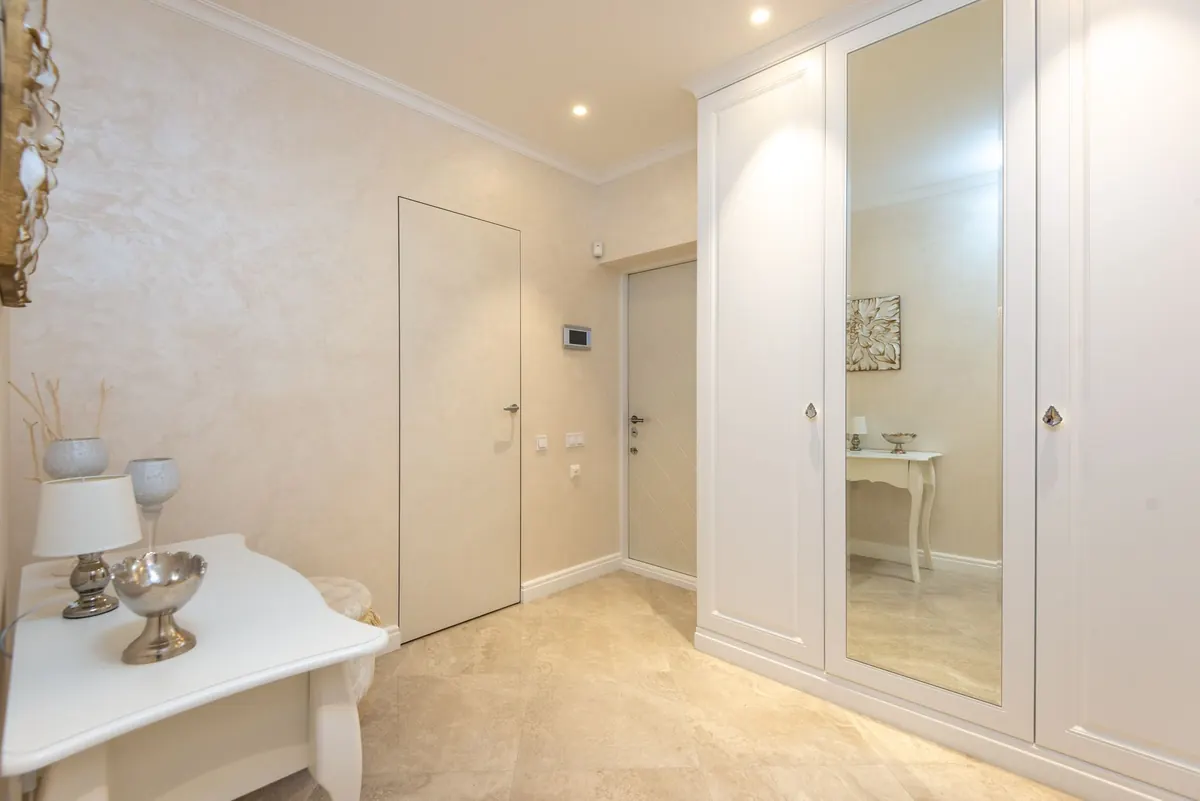
Ten practical ways to make a small UK hallway feel wider and brighter, from oversized mirrors and layered lighting...

Feather-light inspiration for beautiful rooms..